[Index]
[Copyright Notice]
| <<- [Previous Page] | [Next Page] ->> |

|
Weather Photography
[Index] [Copyright Notice] |
|
|
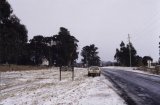
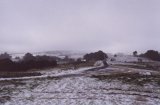
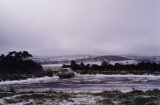
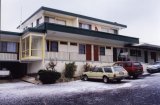
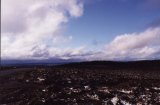
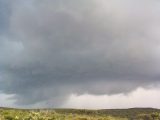
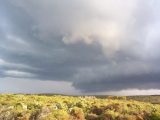
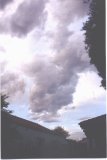
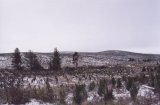 Oberon region, NSW Photo by Jeff Brislane |
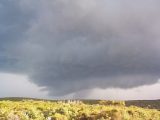
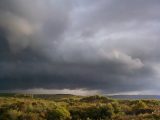
 Oberon region, NSW Photo by Jeff Brislane |
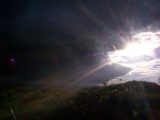
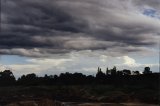
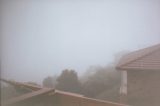
 Oberon region, NSW Photo by Jeff Brislane |
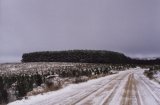
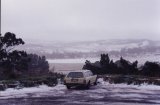
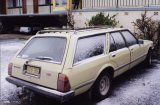
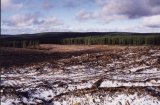
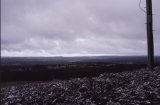
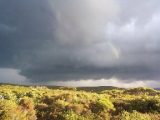
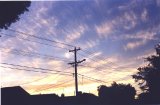
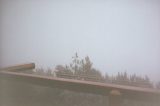
 Black Springs, NSW Photo by Jeff Brislane |
 Black Springs, NSW Photo by Jeff Brislane |
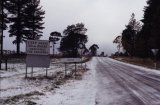
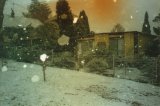
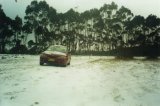
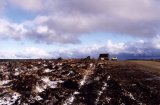
 Oberon, NSW Photo by Jeff Brislane |
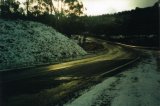
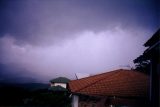
 Blue Mountains, NSW Photo by Lindsay Pearce |
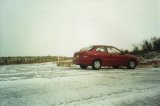 Blue Mountains, NSW Photo by Lindsay Pearce |
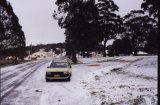
 Oberon, NSW Photo by Jeff Brislane |
 Oberon, NSW Photo by Jeff Brislane |
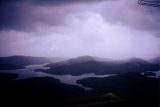
 Blue Mountains, NSW Photo by Lindsay Pearce |
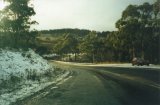 Blue Mountains, NSW Photo by Lindsay Pearce |
 Oberon, NSW Photo by Jeff Brislane |
 Oberon, NSW Photo by Jeff Brislane |
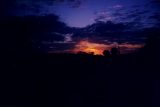
 Blue Mountains, NSW Photo by Lindsay Pearce |
 Blue Mountains, NSW Photo by Lindsay Pearce |
 Oberon, NSW Photo by Jeff Brislane |
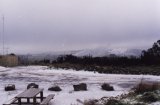
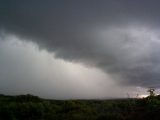
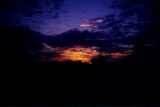
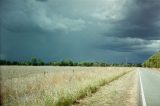
 Shooters Hill, NSW Photo by Jeff Brislane |
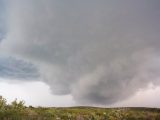
 Shooters Hill, NSW Photo by Jeff Brislane |
 Shooters Hill, NSW Photo by Jeff Brislane |
 Shooters Hill, NSW Photo by Jeff Brislane |
 Shooters Hill, NSW Photo by Jeff Brislane |
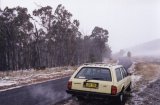 Shooters Hill, NSW Photo by Jeff Brislane |
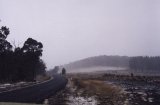 Shooters Hill, NSW Photo by Jeff Brislane |
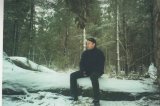
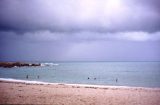
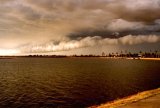
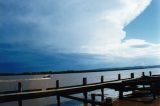
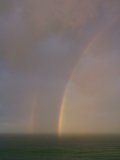 Evans Head, NSW Photo by Halden Boyd |
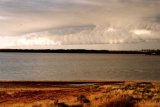
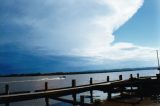
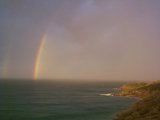 Evans Head, NSW Photo by Halden Boyd |
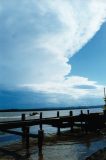
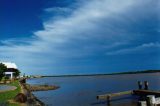
 Evans Head, NSW Photo by Halden Boyd |
 Evans Head, NSW Photo by Halden Boyd |
 Evans Head, NSW Photo by Halden Boyd |
 Evans Head, NSW Photo by Halden Boyd |
 Evans Head, NSW Photo by Halden Boyd |
 Evans Head, NSW Photo by Halden Boyd |
 Evans Head, NSW Photo by Halden Boyd |
 Evans Head, NSW Photo by Halden Boyd |
 Evans Head, NSW Photo by Halden Boyd |
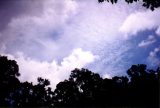
 Penrith area, NSW Photo by Jeff Brislane |
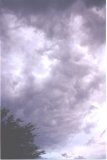
 Penrith area, NSW Photo by Jeff Brislane |
 Melbourne, VIC Photo by Graeme Sutcliffe |
 Melbourne, VIC Photo by Graeme Sutcliffe |
 Photo by Stuart Lloyd |
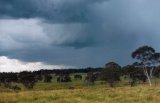 Photo by Stuart Lloyd |
 Lower Beechmont, QLD Photo by Matthew Saxby |
 Lower Beechmont, QLD Photo by Matthew Saxby |
 north of Biloela, QLD Photo by Matthew Saxby |
 north of Biloela, QLD Photo by Matthew Saxby |
 Bowen, QLD Photo by Matthew Saxby |
 Malanda Falls, QLD Photo by Matthew Saxby |
 Melbourne, VIC Photo by Graeme Sutcliffe |
 Melbourne, VIC Photo by Graeme Sutcliffe |
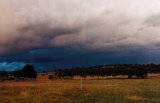 Photo by Stuart Lloyd |
 Lower Beechmont, QLD Photo by Matthew Saxby |
 Lower Beechmont, QLD Photo by Matthew Saxby |
 Thornbury, VIC Photo by Graeme Sutcliffe |
 west of Gladstone, QLD Photo by Michael Gutteridge |
 Carnarvon, WA Photo by Chris Giles |
 Carnarvon, WA Photo by Chris Giles |
 Ballina, NSW Photo by John Bath |
 Ballina, NSW Photo by John Bath |
 Ballina, NSW Photo by John Bath |
 Ballina, NSW Photo by John Bath |

[Page 01][Page 02][Page 03][Page 04][Page 05][Page 06][Page 07][Page 08][Page 09][Page 10][Page 11][Page 12][Page 13][Page 14][Page 15]
[Page 16][Page 17][Page 18][Page 19][Page 20][Page 21][Page 22][Page 23][Page 24]
Keywords: Contributions Received, submissions, clouds, photographs, photography, photos, pictures, clouds, images
| Document: received07.html
Updated: 15 September, 2009 | [Australian Severe Weather index] [Copyright Notice] [Email Contacts] [Search This Site] [Privacy Policy] |